First, let me say that stepping into the world of pickling was brand new adventure for me!
My brother-in-law brought home a truck-load of vegetables last Friday with the idea that he would set up a vegetable stand. Then, he had some sort of crop chore such as disking or cutting hay or something and my sister-in-law wound up sitting alone in the near 90 degree weather under the tent on Saturday morning. Well, let's just say that the vegetable stand didn't become a sudden popular commodity and there were quite a few boxes of vegetables unsold. So, Mike and I became the lucky recipients of a couple of boxes of cucumbers, a box of squash, and a box of green beans. When I called the sister-in-law to ask for ideas of what to do with all those cucumbers, she suggested pickles and Mike said he likes his mother's sweet pickles. So, I decided to try my hand at pickles using my mother-in-law's recipe.
It really has been an adventure. I have learned loads. I hope the pickles turn out edible. I followed the mother-in-law's recipe as closely as I could but along the way I had to deviate a bit.
Step One
Ingedients:
2 gallon sliced cucumbers
2 cups salt
boiling water
As I washed them, I separated the cucumbers into large and small ones.
The ones I used for the sweet pickles are the smaller ones.
- Put cucumber slices in crock or large plastic container.
- Pour on enough boiling water to cover the cucumber slices.
- Let stand two days in this mixture.
- Pour off and rinse with hot water.
I followed this precisely (well, except that I don't have a crock and used a five-gallon plastic bucket, instead) and had a smile on my face and a feeling of satisfaction at the end of the day.
Step Two
Ingredients:
rinsed cucumbers slices from above
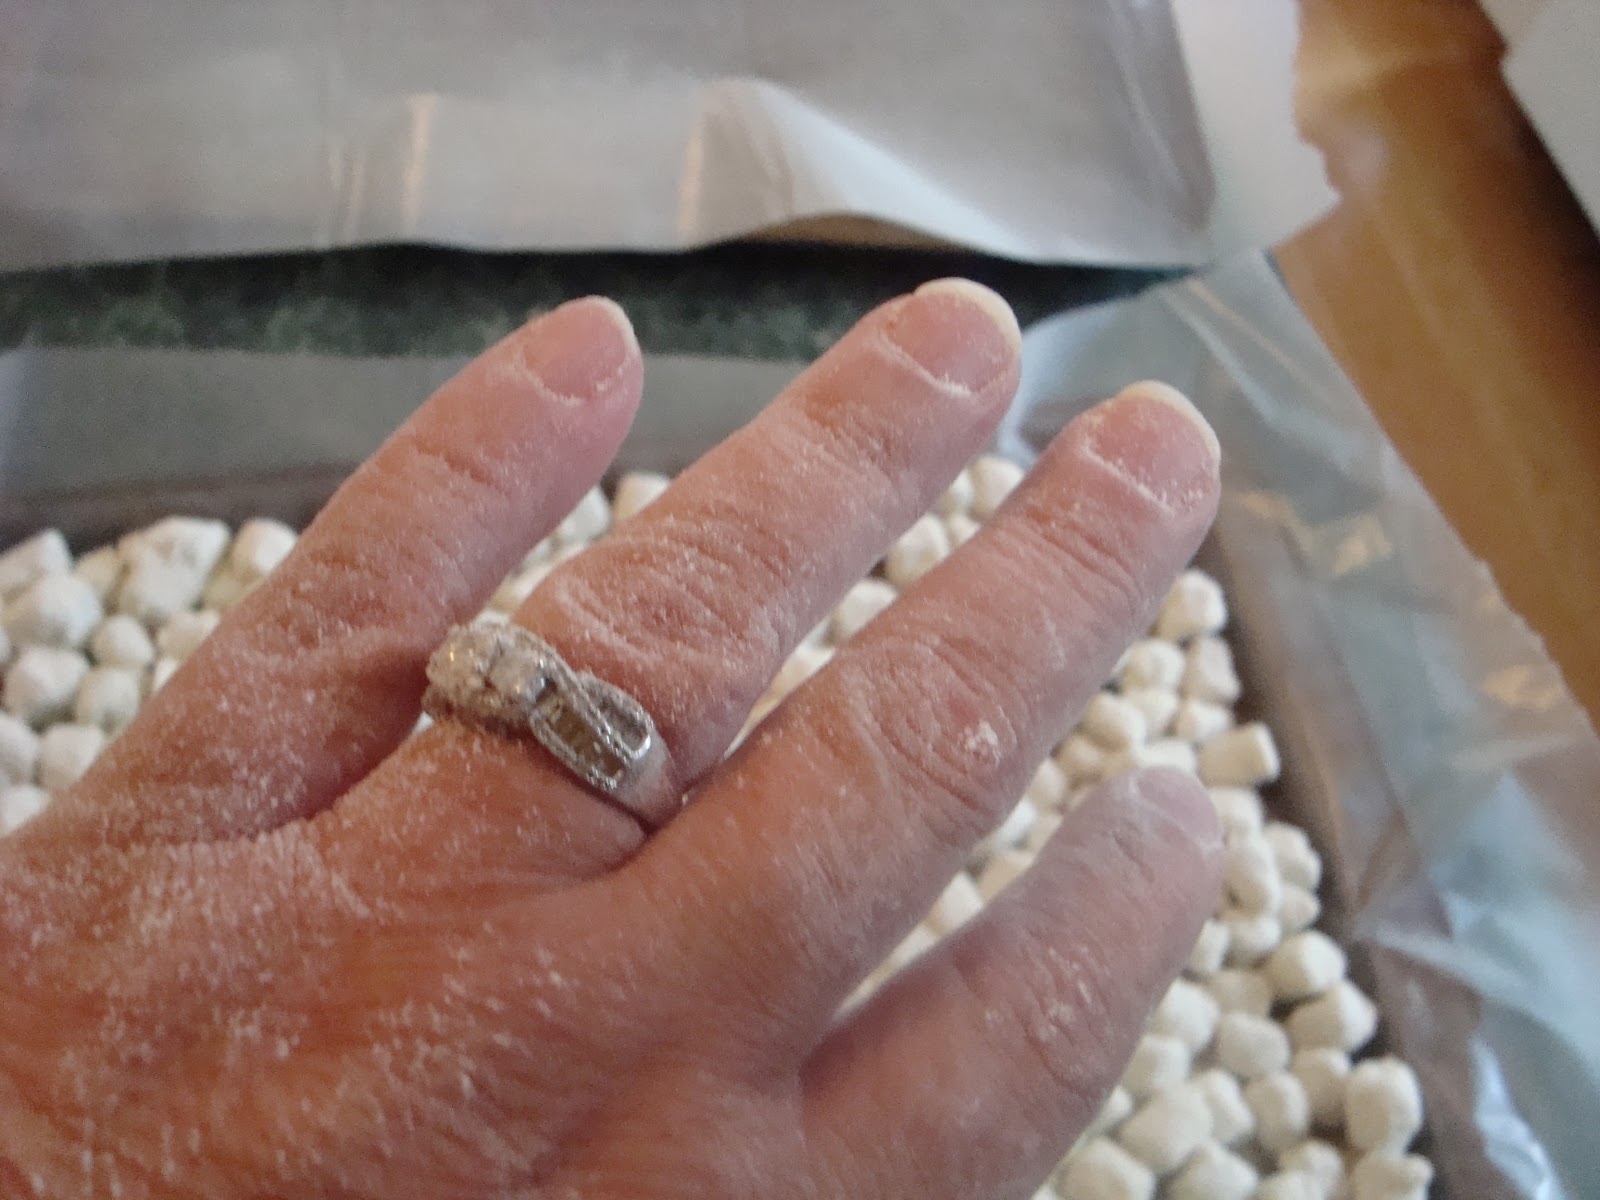
2 Tablespoons alum
boiling water
- Put cucumber slices back into rinsed container.
- Sprinkle alum on top.
- Cover with boiling water
- Let stand one day and rinse.
Here was deviation from the recipe part one. The way the recipe was printed in the book was not put in clear steps and the ingredients were not listed out separately like I have done here. So, when I got to this part, I had not realized the recipe called for alum. I had NO IDEA what alum was and, of course, had none in my repertoire of spices. So, after I rinsed and returned the cucumbers to the
crock bucket container, I looked back at my cookbook and got some glasses on and looked again and did a bit of cursing with my hands on my hips and turned around in the kitchen a couple of times. Then, I just poured the boiling water over the cucumbers and dashed to the store in search of alum. When I got home I sprinkled the alum atop and poured on a couple more quarts of boiling water and my smile was a bit more like a grimace and the feeling became one of ponderance.
Step Three
Ingredients:
2 1/2 quarts vinegar
16 cups sugar
2 Tablespoons celery seed
1/2 teaspoon tumeric
2 Tablespoons mustard seed
1 teaspoon ground ginger
2 teaspoons black peppercorns
1 Tablespoon whole cloves
rinsed cucumbers from above
- Combine vinegar and sugar in large pot and add spices listed above. It would be ideal to tie the spices up in a small cheesecloth sachet bag.
- Boil five minutes.
- Put rinsed cucumbers into solution and simmer seven to eight minutes.
- Put into sterilized Ball canning jars, leaving 1/4 inch headspace.
- Remove air bubbles by sliding a wooden spoon handle down along the inside of the jar.
- Place two piece caps on jars.
- Process ten to fifteen minutes in a boiling-water canner.
Did I ever deviate from the original instructions on this step! First, after I had rinsed the cucumbers and was double-checking the recipe, I noticed that the cookbook's version called for two and a half pints of vinegar and sixteen cups of sugar. I was a bit blown away by the amount of sugar and decided I'd better check with the mother-in-law to make sure this wasn't a typographical error. She assured me that the sugar amount was correct but went back to her recipe card and said that actually there should be two and a half quarts of vinegar. So, that was a lucky save.
Next, the original recipe called for two tablespoons of pickling spices. Again, I didn't have this in my repertoire of spices. So, I dug around and found the
Ball Blue Book guide to preserving that my parents gave me for Christmas one year and began mixing up my own concoction of spices. I also found this
Pickling Spice website to guide me a bit. So, I created the combination of spices listed above and dumped them one-by-one into the vinegar/sugar mixture and began to cook the mix to a boil.
While I was awaiting the vinegar/sugar/spice mixture to come to a boil, I decided I had time to rinse the cucumbers. Well, I wasn't watching my pot closely enough and all this boiled over onto the stove top. What a MESS! There was a flurry of cursing and me hopping all over the place to get the pot off the heat and burning my fingers and searching for a potholder. There was stuff dripping down the front and the back of the cabinet door and into the stack of skillets stored within and onto the floor. Then, I had to clean up the boiled over mess and do you know how bad a sugar/vinegar/spice mix smells when it is burning on the stove eye? Whew!
As I read on into the recipe, I learned that all these spices were supposed to be placed into a little cheesecloth square and tied up into a sachet-type bag. Well, too late for that! So, I strained the mixture using my little metal strainer only to notice that there were still little specks of ginger and cinnamon floating around. So, I tried using a coffee filter to get those little specks out. Well, the vinegar/sugar solution was too thick to go through a coffee filter and it broke and the little specks swooshed out into the bowl and I gave up. So, these sweet pickles will have little freckles of ginger and cinnamon in them.
So, actually, step four actually should be to wash down all the cabinets and mop the sticky kitchen floor!
Finally, I thought the recipe book was a bit unclear about how long to simmer the cucumbers in the vinegar/sugar/spice mixture. The directions said boil for five to ten minutes. As witnessed previously, there could be a big difference along five and ten minutes. So, I simply decided to split the middle and landed on the timing of seven to eight and that seemed to work well.
I guess this pickling was just a skill that must have been handed down from one generation to the next and one learned it from the elders. Maybe it was sort of a coming-of-age sort of right of passage or something that I somehow missed out on. I do remember my mother
stinking up the house making delicious pickles as I was growing up. However, being the farm girl that I was, I guess I always got away with driving the tractor for Daddy during that time or something and never learned the art of pickling till now. I searched through my recipes that I have gotten from Mom over the years and didn't find a pickle one. However, this recipe must be similar to hers because the
stink odor fragrance was much the same and, more importantly, the taste is too!
In the
Ball Blue Book one of the suggested tips says to let the pickled dishes set in the jar for a couple of weeks. I hope I can hold out that long before I taste!
* Update * We couldn't hold out. Mike opened up one of the jars and we ate a few slices. I guess the venture was successful, Mike said that all he needed was some cheese and crackers and a piece of baloney to go with the pickles. He had a big grin on his face and ate another three or four slices. Guess what he took to work as his lunch today?